Could a stronger spray make RV cleaning riskier, not easier? A safe RV Cleaning Outer routine starts by matching the washing method to the surface, not just the dirt. Too much pressure or the wrong tool can put seals, decals, and delicate finishes at risk, while road grime, bug splatter, and seasona...
Could a stronger spray make RV cleaning riskier, not easier? A safe RV Cleaning Outer routine starts by matching the washing method to the surface, not just the dirt. Too much pressure or the wrong tool can put seals, decals, and delicate finishes at risk, while road grime, bug splatter, and seasonal buildup still need attention.
It’s understandable to want a thorough clean without causing damage. This guide explains how to wash an RV exterior gently, choose suitable tools and cleaning products, and give vulnerable surfaces extra care. You’ll also learn how conditions around Knoxville, including pollen and grime picked up during travel or outdoor storage, can shape your cleaning plan.
We’ll cover practical ways to handle common exterior messes, when a lower-pressure approach makes sense, and how to decide whether a DIY wash is manageable. American Handyman provides pressure washing in Knoxville. For an RV, the right cleaning method still depends on the vehicle’s surfaces and the manufacturer’s care instructions.
Key Takeaways
• RV Cleaning Outer starts with protecting the finish: let the owner’s manual and surface-care instructions guide your cleaner and tools.
• Choose between hand washing and pressure washing based on the RV’s surfaces, access needs, and the level of control required.
• Use a simple wash routine to remove loose dirt before cleaning, then rinse and dry with care.
• Plan your washing spot with shade and local site rules in mind, especially when cleaning at an RV park.
• Know when a DIY wash may be enough and when pressure-washing expertise may help with an exterior-cleaning project.
Why careful RV exterior cleaning matters in Knoxville
RV exterior cleaning means removing dirt and residue from a recreational vehicle while taking care around its finishes and attached parts. RVs come in many forms and configurations, so the right approach depends on the specific surfaces and features on your vehicle. The general term recreational vehicle covers a range of vehicles, and a cleaning routine that suits one RV may not suit another.
In Knoxville and across East Tennessee, an RV may pick up road film during travel, pollen while parked outdoors, and bird droppings or other everyday residue between trips. Cleaning improves visibility of the exterior and makes it easier to notice changes in the finish. The goal isn’t to scrub away every mark at any cost. A careful RV Cleaning Outer routine clears surface dirt while treating sensitive finishes and components with care.
What can collect on an RV during East Tennessee travel?
What lands on an RV depends on where and how it’s used. A long drive may leave a film of road grime, while an RV stored beneath trees may collect pollen, leaves, or bird droppings. Weather can affect how residue settles or shows up. Parking conditions matter, too: an RV kept outdoors between trips has different exposure from one stored under cover.
Look over the exterior after a trip and after an extended period outdoors. Check the front, sides, rear, and other areas where residue is easy to spot. Notice whether dirt is loose or stuck on, and whether a mark looks like surface residue or a change in the material itself. This quick check helps you decide what may respond to gentle cleaning and what needs closer attention.
How cleaning supports routine exterior checks
A wash can make stains, loose trim, or changes in the finish easier to see by clearing away surface dirt. That’s useful for routine awareness, not a repair. Cleaning won’t fix a loose component, restore a damaged decal, or resolve a concern with a seal. If something appears damaged or out of place, treat it as a separate issue and arrange the appropriate inspection or repair.
Think of appearance and practical checks as separate benefits. Removing visible grime can make the RV look cared for, while a clearer view of its surfaces can help you notice changes that dirt might hide. Neither benefit calls for forceful scrubbing. If a deposit doesn’t lift with a gentle approach, don’t automatically increase pressure or rub harder. The surface may need a different cleaning method, or the mark may need attention beyond washing.
Gentle RV washing is the careful removal of surface dirt using a method suited to the RV’s materials and attached components. It doesn’t guarantee damage prevention. It does provide a sensible starting point: observe the surface, clean with care, and keep washing separate from inspection or repair work.
Choose RV exterior cleaners and tools that suit the surface
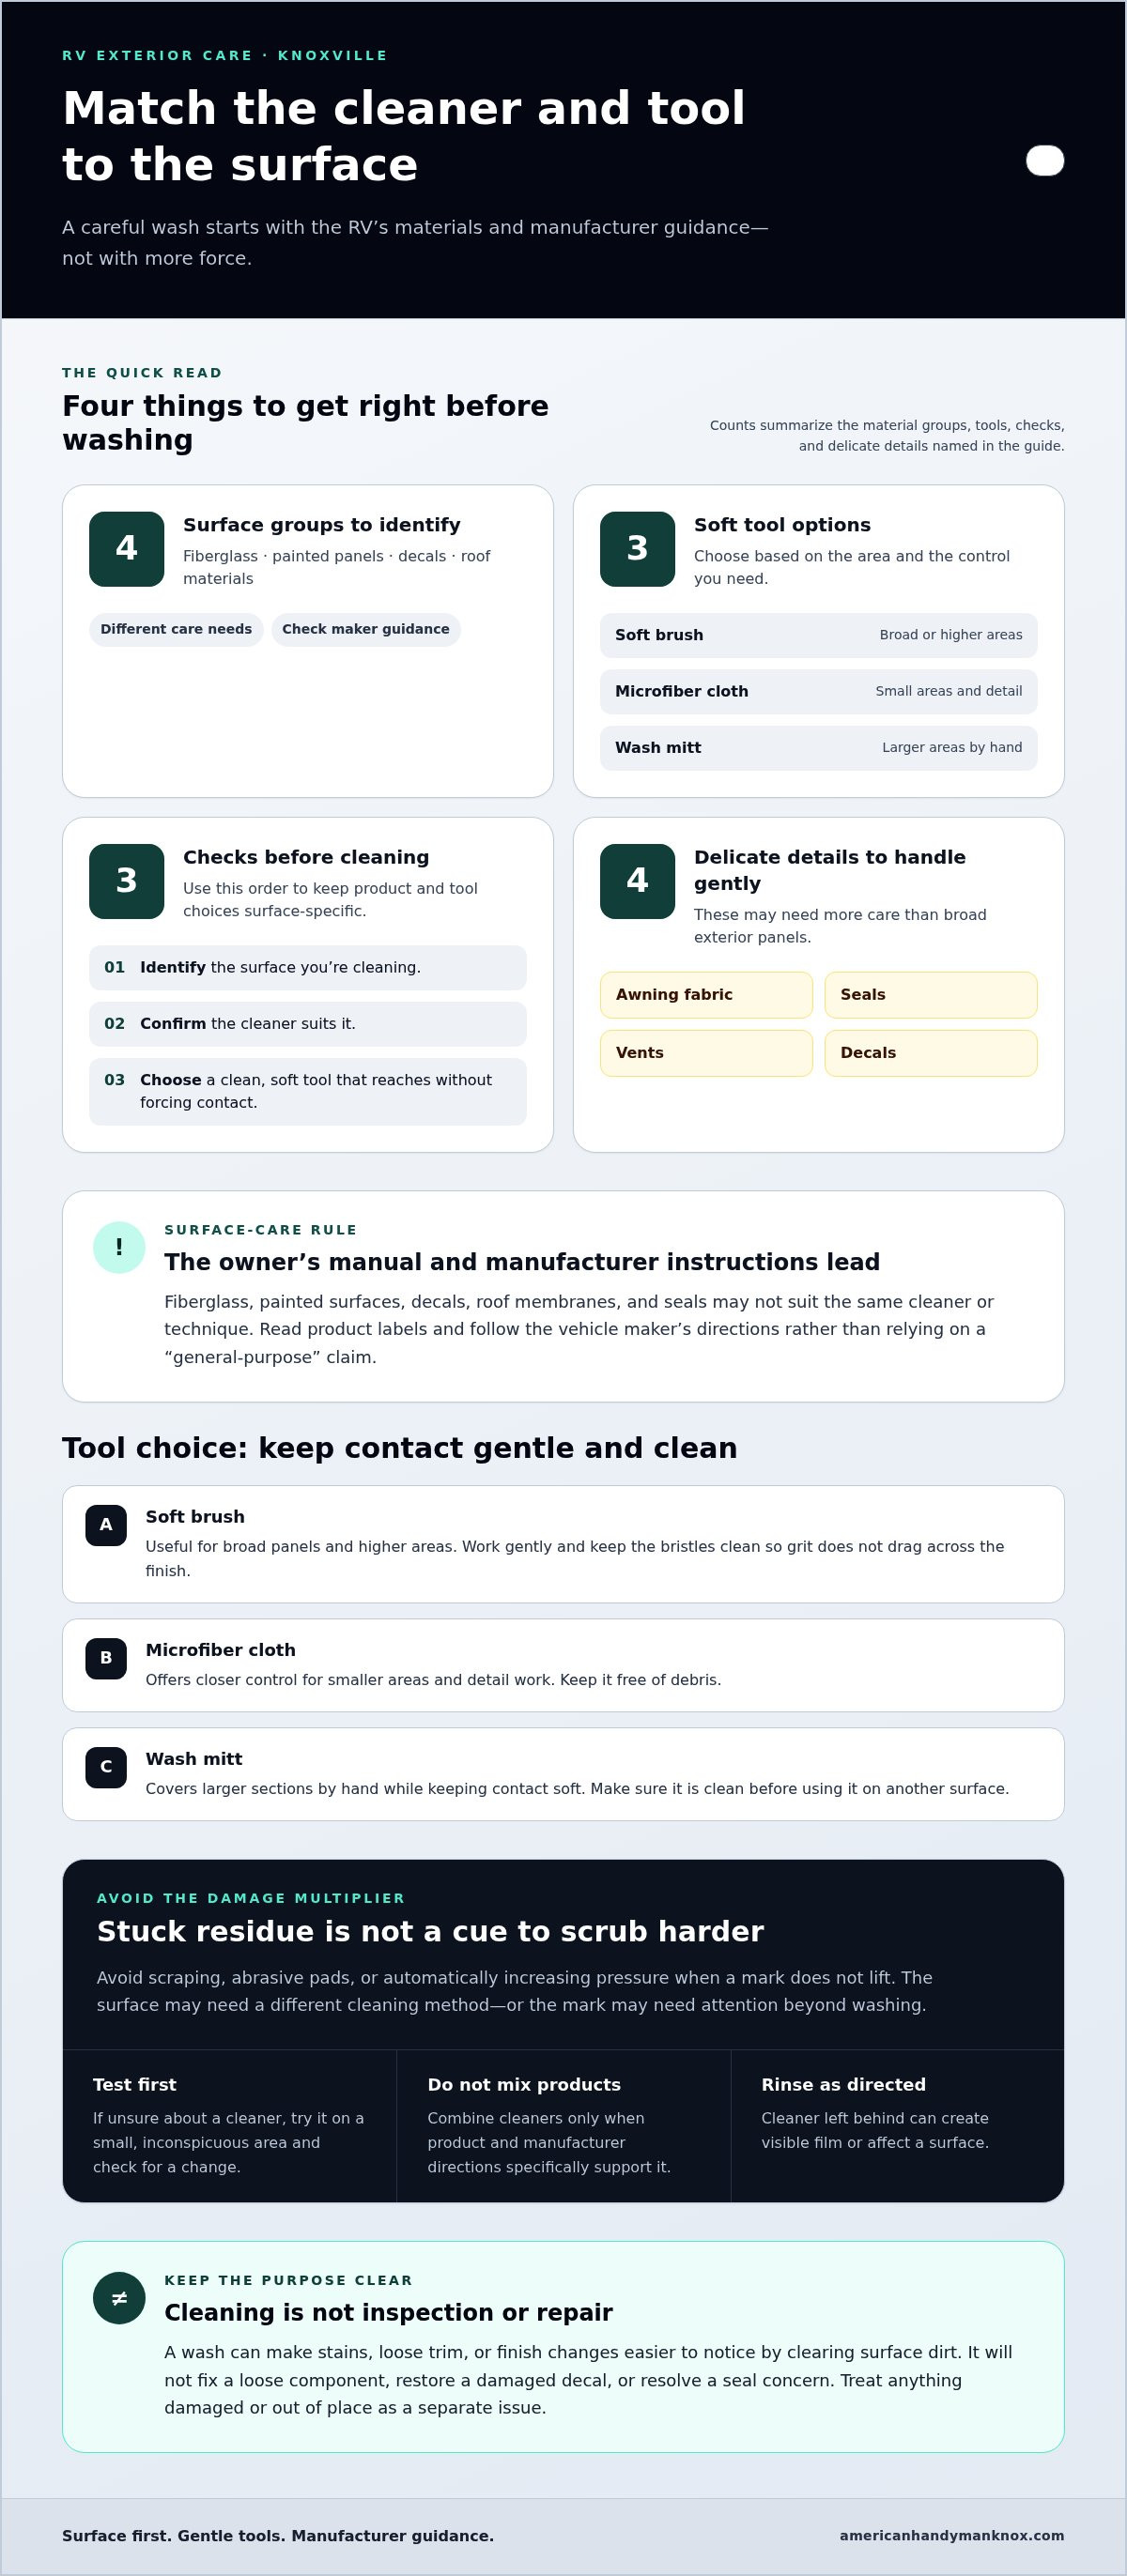
Start with the RV owner’s manual and any surface-care instructions from the manufacturer. These are the best guides to which cleaners and washing methods suit your vehicle. Fiberglass, painted panels, decals, and roof materials can have different care needs, so don’t assume one product is safe for every part. If you’re unsure about a cleaner, test it on a small, inconspicuous area first and look for any change before using it more widely.
For broader industry context, the National RV Dealers Association represents RV dealers. For your vehicle’s cleaning directions, follow its manual and manufacturer guidance. That order of operations keeps product choices tied to the materials you’re actually cleaning.
Match the cleaning approach to RV materials
Fiberglass and painted surfaces may respond differently to the same cleaner or amount of rubbing. Decals also call for care, since aggressive scrubbing can affect their edges or surface. Read product labels and follow the vehicle maker’s instructions rather than relying on a cleaner’s general-purpose description. Roof membranes and seals aren’t ordinary body panels, so use their specific care guidance instead of carrying over products or techniques meant for the sides.
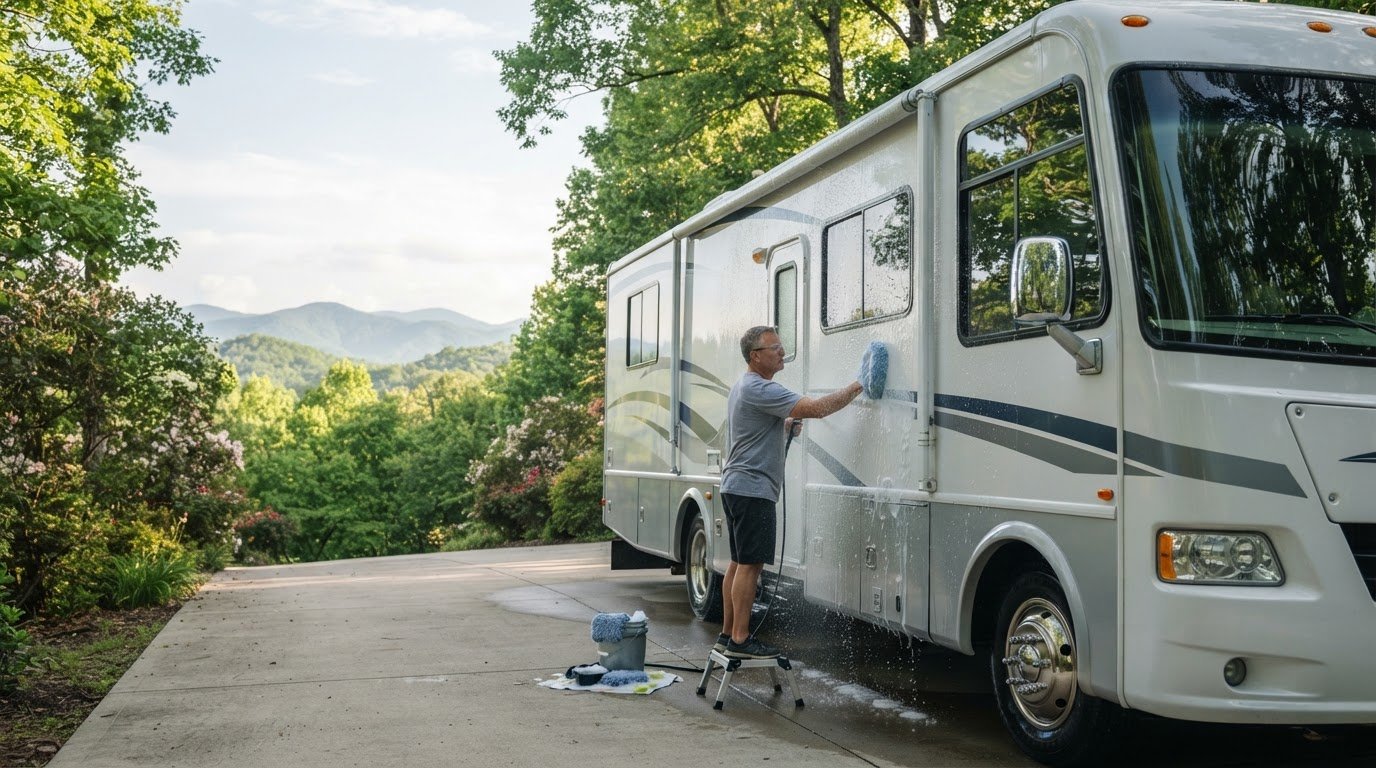
Tool choice matters as much as cleaner choice. A soft brush can reach broad panels and higher areas, but use it gently and keep its bristles clean so grit doesn’t drag across the finish. A microfiber cloth gives you closer control for smaller areas and detail work. A wash mitt can cover larger sections by hand while keeping contact soft, but it should also be free of debris. Don’t use a tool that has picked up grit on another surface.
Protect awnings, seals, and exterior details
Awning fabric, seals, vents, and decals may need gentler handling than broad exterior panels. Avoid scraping stuck-on residue or reaching for abrasive pads, either can leave marks or disturb a vulnerable area. Don’t combine cleaners unless the product and manufacturer directions specifically support that use. Rinse away residue as directed, since leaving cleaner behind can create visible film or affect a surface.
Before you begin, identify the surface, confirm the cleaner is suitable, then choose a tool that reaches it without forcing contact. If you notice a loose edge, worn seal, or change in the finish, don’t treat stronger scrubbing as the fix. Cleaning can remove dirt, but it can’t repair damaged materials.
Gentle RV washing pairs a surface-compatible cleaner with a clean, soft tool to limit unnecessary rubbing and care for the finish. That’s the heart of careful RV Cleaning Outer: let the manufacturer’s guidance lead, and adjust your touch for each part of the vehicle.
American Handyman provides pressure washing in Knoxville. The right method depends on the surface being cleaned. Learn more about pressure washing services.
Hand washing or pressure washing: which RV cleaning method fits?
The better choice depends on the RV’s materials, how dirty it is, and how much control the job needs. Hand washing keeps you close to the surface, making it easier to work around details. Pressure washing can cover broader areas, but the spray may reach seams and attached parts with more force than intended. A pressure washer isn’t automatically suitable for every RV or every exterior surface.
Use this comparison as a starting point, then follow the RV manufacturer’s cleaning instructions. Neither method is a one-size-fits-all answer.
| Method | Control and access | Considerations |
|---|---|---|
| Hand washing | Close contact helps with small areas and detailed work. | Use a clean, soft, non-abrasive mitt or brush; avoid rubbing grit across the finish. |
| Pressure washing | Can reach broader or higher areas, depending on the setup. | Check manufacturer guidance and take care around seals, openings, decals, trim, windows, and roof-mounted components. |
When hand washing offers more control
Hand washing is a practical option for a small area, a stubborn patch that needs attention, or exterior details that call for a careful touch. Working close lets you see how the surface responds as you clean. A soft brush or mitt still needs to be clean and non-abrasive, since trapped grit can scratch as you move it. Use gentle contact and stop if a mark doesn’t lift easily.
Pressure washing without assuming every surface can take it
Before using pressure-washing equipment, consult the RV manufacturer’s instructions for the vehicle and the surfaces involved. Seals, vents, windows, decals, trim, and roof-mounted parts deserve extra caution because water directed at openings or edges may affect them. Don’t assume a setting or technique suitable for one RV transfers safely to another. Avoid directing the spray at vulnerable details unless the manufacturer’s guidance permits it.
Consider the job in sections. Broad, sturdy body areas and delicate details may call for different handling, and some surfaces may be better cleaned by hand. If you can’t identify what a surface needs, pause and check the care instructions rather than increasing pressure or moving closer to the RV.
For a broader look at careful exterior washing around local homes, the Knoxville pressure washing guide offers related guidance. American Handyman provides pressure washing in Knoxville, and the central principle applies here too: match the method to the surface. With RV Cleaning Outer, careful judgment matters more than choosing the fastest tool.
A practical RV exterior wash plan for Knoxville-area owners
A steady routine makes RV Cleaning Outer easier to manage and keeps cleaning focused on the surfaces that need it. Pick a shaded, suitable place to wash, gather the products and tools recommended for your RV, and allow enough time to work without rushing. Before starting, check current local requirements and any rules for the property or RV park where the vehicle is parked. Requirements can vary, so verify what applies to your location.
Prepare the RV and washing area
Before adding water or cleaner, check the owner’s manual and product labels. Make sure the washing area gives you safe access around the vehicle, and account for awnings and movable exterior parts according to their instructions. Clear loose leaves and other debris first. This preparation helps keep grit from being dragged across the finish during washing.
Prepare the area.
Choose a shaded spot where you can move around the RV safely. Set out clean tools and suitable products, and confirm any site-specific washing requirements before you begin.
Remove loose dirt.
Rinse or gently clear away loose debris before scrubbing. Pay attention to areas that collect dust, pollen, or road grime after travel or outdoor storage.
Wash gently.
Work on one manageable section at a time. Use the method and cleaner recommended for that surface, and keep tools clean as you move around the RV. Don’t press harder to remove a mark that doesn’t lift easily.
Rinse the section.
Follow the cleaner’s directions for rinsing and remove residue before moving on. Take care around openings and attached parts, and use the RV manufacturer’s guidance for surfaces that need special handling.
Dry and look over the finish.
Dry areas where appropriate, following the surface-care instructions. Check for remaining stains or changes that are still visible once the surface is clean.
Wash, rinse, and check the finish
Working in small sections helps you keep track of where cleaner has been applied and rinsed. Use clean water and tools as needed, and follow product directions rather than leaving residue to dry on the surface. After seasonal travel, look for East Tennessee pollen, road film, or outdoor residue that may have accumulated. How much you find depends on your route, weather, parking, and storage.
A wash can reveal stains or surface changes that dirt was hiding, but it won’t repair damage. If something remains after gentle cleaning, or you notice a loose component or a concern around a seal, note it for separate attention rather than scrubbing harder. A careful routine is useful, but the owner’s manual and current local site requirements should guide the details.
For a pressure-washing project, request a pressure-washing project quote from American Handyman.
Get help with RV exterior cleaning in Knoxville
A careful DIY wash can be reasonable when the RV is easy to reach, the dirt is light, and you can follow the manufacturer’s care instructions. Extra help may be useful when the vehicle has large areas to clean, awkward access, stubborn buildup, or delicate details that make the method hard to judge. The right choice depends on the RV and the work involved, not simply how dirty it looks.
Recognize when a wash needs extra care
Pause before tackling areas that are difficult to reach or where trim, seals, decals, vents, and other details need a cautious touch. Stubborn grime can tempt you to scrub harder or increase pressure, but that may not suit the surface. Washing also won’t fix leaks, fading, or finish damage. Treat those as separate concerns and plan the cleaning around the materials and areas needing attention.
American Handyman is a family-owned Knoxville business, and pressure washing is its primary service. That experience is relevant to exterior-cleaning projects, but the cleaning plan should still fit the specific RV and its surfaces. Describe the areas involved and the type of buildup so the project scope is clear, rather than assuming one washing method suits every vehicle.
Request a local quote with clear project details
Useful details include the RV’s approximate size, where visible buildup is concentrated, and which areas need attention. Mentioning whether the work involves broad exterior panels or delicate details helps describe the project clearly. Scope matters: size, condition, access, and the areas included all shape the work involved, so a quote should reflect the project rather than rely on a one-size-fits-all assumption.
For RV Cleaning Outer in Knoxville, list what you’ve noticed and what you want cleaned. American Handyman provides local home maintenance services, and free quotes can be requested online. Share the project details when requesting a quote for pressure-washing work.
Plan your next RV wash with care
A sound RV Cleaning Outer plan starts with a practical decision: which areas are you comfortable cleaning yourself, and where would you prefer help? Set aside spots that seem difficult to reach or need special care, and keep cleaning separate from repairs or surface concerns. That clear starting point can make the next step easier.
For pressure-washing projects in Knoxville, American Handyman provides local service as a family-owned business. Describe the project scope, including the surfaces and visible buildup, so the work involved is clear. Free online quotes are available, giving you a chance to review the project before deciding how to proceed.
Request a free quote for your exterior-cleaning project, then choose the approach that fits your RV. A careful plan can help you move forward with confidence.
Frequently Asked Questions
Can I use household dish soap to wash my RV?
It’s safer to use a cleaner recommended for your RV’s exterior materials than to assume dish soap is suitable. Household formulas can differ, and some may leave residue or affect protective finishes. Check your owner’s manual and the soap label before using it. If you’re considering an unfamiliar cleaner, try a small hidden spot first, then look for changes before washing a larger area.
How do I remove black streaks from an RV exterior?
Start by identifying where the streaks are and what surface they’re on, since runoff marks can cling differently to painted panels, fiberglass, or trim. Use a streak cleaner only if its label and your RV’s care instructions say it suits that surface. Apply it as directed, test a hidden spot, and use a soft cloth rather than scraping. If the mark persists, avoid stronger chemicals or harder scrubbing.
Is it safe to walk on an RV roof while cleaning it?
Only walk on the roof if the RV manufacturer says that specific roof is designed to support foot traffic. Some roofs aren’t walkable, and even a walkable surface can be slippery when wet. Use the manufacturer’s access and cleaning directions, and don’t step on vents, skylights, or other roof components. If you can’t safely reach the area from the ground or an approved access point, don’t climb onto it.
Can I wash an RV in direct sunlight?
You can wash in sunlight, but it may be harder to keep cleaner or rinse water from drying on the surface before you finish. That can leave visible spots or residue, especially on a large RV. If you can, choose a shaded time or wash one small section at a time and rinse it promptly according to product directions. Avoid washing a hot surface if the cleaner label advises against it.
How should I clean an RV awning without damaging it?
Follow the awning maker’s instructions, since fabric and coatings can have different care needs. Remove loose debris gently, then use only a cleaner approved for that awning material. Avoid abrasive brushes, scraping, and forceful scrubbing that could roughen or tear the fabric. Rinse as directed, and let the awning dry fully before storing it if its care instructions recommend doing so. Don’t assume a body-panel cleaner is suitable.
Should I wax my RV after washing it?
Wax only if the RV manufacturer’s guidance says it’s appropriate for the surface and any existing coating. Washing and waxing are separate tasks, and some materials or finishes may call for a different protective product. Check the product label for compatible surfaces and application directions before starting. If the finish looks faded, chalky, or damaged, wax may not address the underlying issue, so avoid treating it as a repair.
Can RV cleaning products be mixed to remove stubborn dirt?
Don’t mix cleaning products unless their labels explicitly say they can be combined and explain how to do so. Mixing formulas can create harmful fumes or damage the RV’s finish, even if each product is intended for cleaning on its own. For stubborn residue, use one compatible product according to its label, rinse as directed, and test a small area first. A cautious RV Cleaning Outer routine is safer than experimenting with combinations.